AdobeSign and SugarCRM
Are you dealing with the hassle of sending physical documents for signature?
Wish that you could have those documents signed within minutes instead of days?
Want to know whether the other party even received your documents?
Then SugarAdobeSign is the solution to all of your document signature problems.
How it Works
With this add-on you can upload and send multiple documents, PDFs, and AdobeSign templates from your CRM to your customers for signature. Additionally, you can also track the status changes of your documents throughout the signature process.
Overview Video
PDF Templates
Sending PDF to Adobe Sign allows you to select a pre-saved PDF template from your CRM and send it to your selected Contact, Account, or Lead.
To send a PDF template, open any Lead, Contact, or Account record. Under record action menu, it shows option ‘Send Template via Adobe Sign’. Click this option. On Send Template via Adobe Sign screen it will auto fill the Name and Email of recipient from selected module.

AdobeSign Templates
Sending Templates using SugarAdobeSign allows you to select already created templates in AdobeSign from your CRM and send it to your selected Contact, Account or Lead.
To send an AdobeSign template, open any Lead, Contact, or Account record. Under record action menu, it shows option ‘Send Adobe Template via Adobe Sign’. Click this option. On Send Template via Adobe Sign screen it will auto fill the Name and Email of recipient from selected module. You will need to select the Templates from the List fetched from AdobeSign.
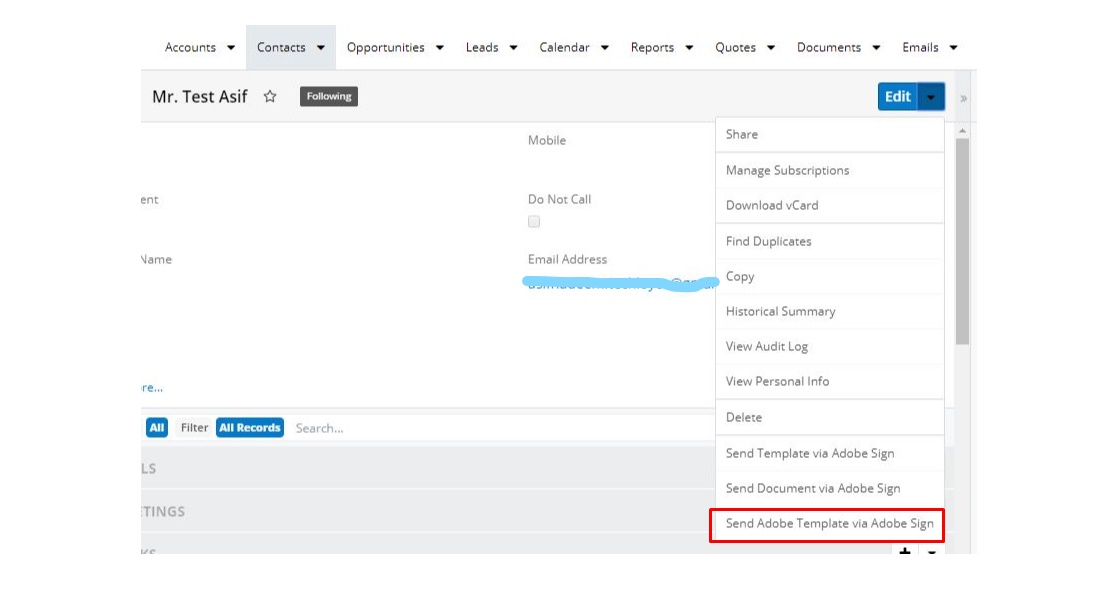
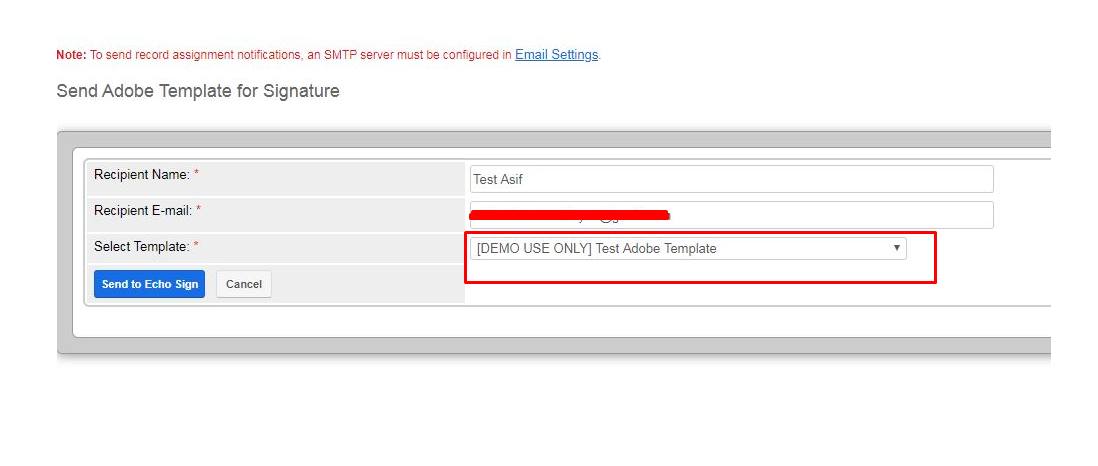
Sending to Contacts, Leads, or Accounts
You can send a document or a pre-saved PDF template to your recipients. For sending Documents to Adobe Sign, it allows you to upload your document and send it to your selected Contact, Account or Lead.
• To send a Document, open any Lead, Contact or Account record. Under record action menu, it shows option ‘Send Document via Adobe Sign’. Click this option.
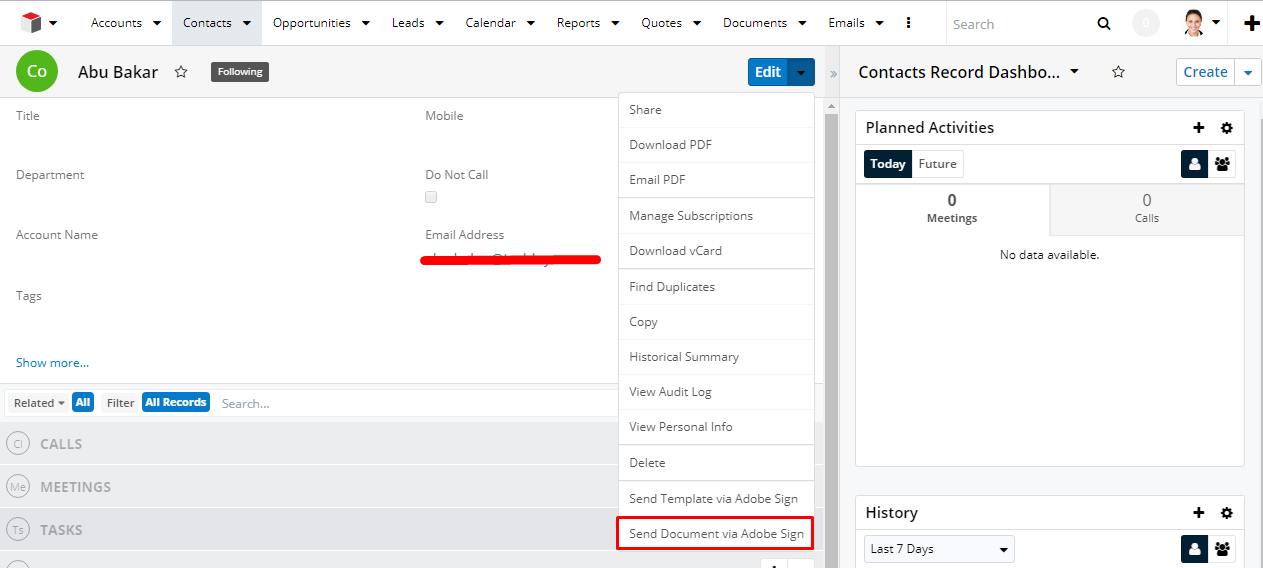
- On Send Document via Adobe Sign screen it will auto fill the Name and Email of recipient from selected module.
- By clicking PLUS icon, you can add multiple recipients. And MINUS button in red color allows to remove some recipients.
- B drag and drop you can set the order to recipients. For example Signer1 receives document first, after sign from Signer1, it will be shared with Signer2 and so on.
- You can select a role for the recipient.

Once you are done with this, press Send to Adobe Sign button and it will send document to your recipients via AdobeSign and you will be redirected back to your record (Account, Contact or Lead).
For sending a PDF template See this Adobe-Sign Configuration.
See Statuses of All Docs
The List Document option allows you to see details of the documents you sent along with their statuses. You can check the status of the sent documents in the following two ways.
- Manually select specific files and click on the 'Check file status' option from drop-down list. It will update the status of your documents, whether it is sent, delivered, or signed.
- In the automatic process it creates a job under the Scheduler module. You can see this job with the title 'Adobe Sign - Document Status Update' by going to Admin Panel and clicking on the Schedulers link. By default, it is set to 15-minute intervals which you can adjust according to your needs.

Easy as Clicking a Link
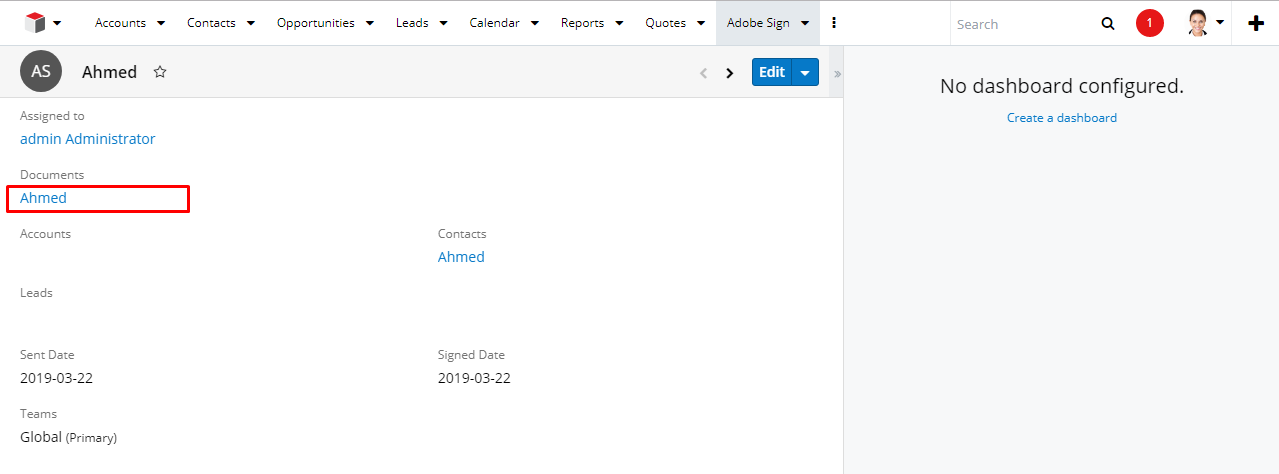
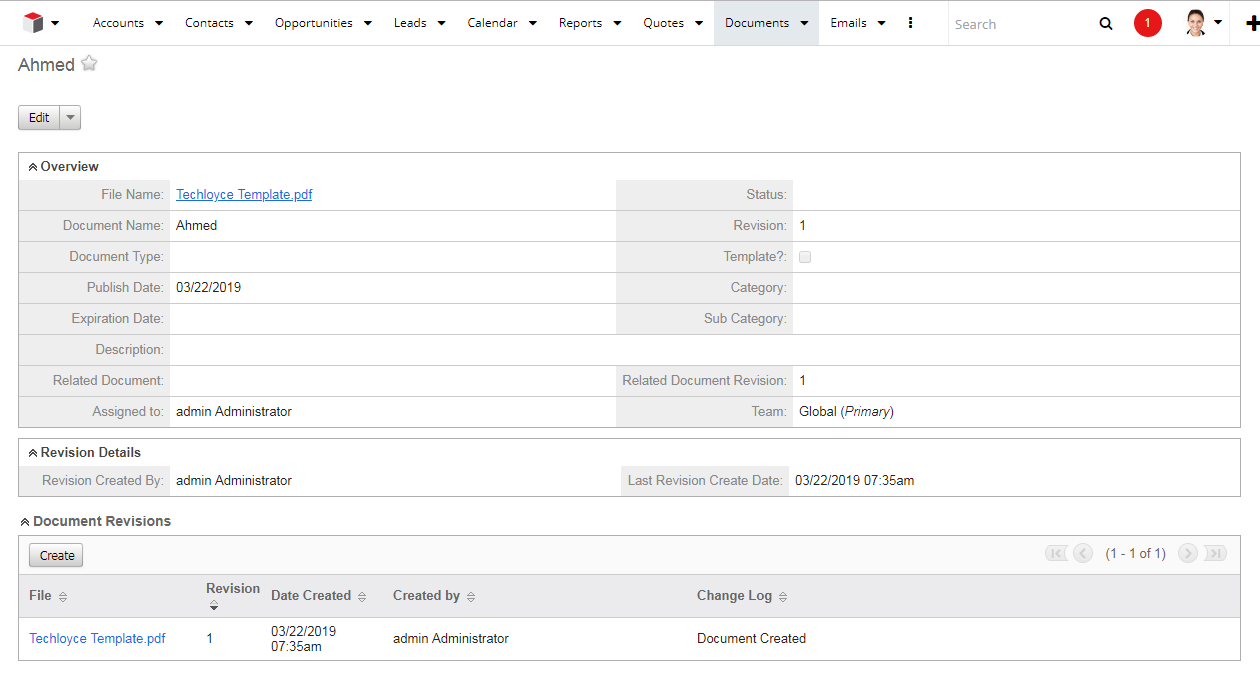
- You can see the Signed documents under the Adobe Sign module. On the signed document record you can click on Document to see its revisions etc. Here you will have a link to Download the file as well.
SugarCloud & On-Premise Supported
This Add-On is compatible with SugarCloud and Sugar on-premise deployments.
For More Info : Click Here Partner Info

