User Guide
Creating Event
Before creating event you need to create email template, which you want to use. See Creating Email Template chapter.
1. Click on Create event
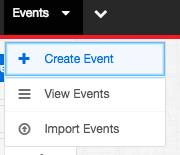
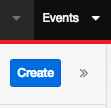
or Create
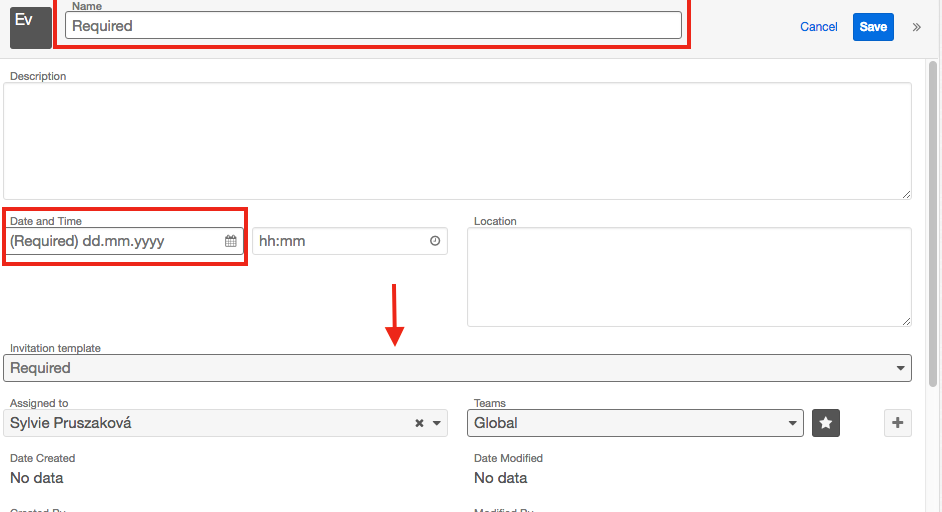
For creating an Event only 3 basic information are required - Name, Date and Email Template. You can add more information to an event later. The event creation form is shown below.
2. Inviting participants
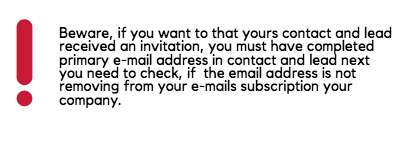
To add participants to an event, use the appropriate action button, allowing you to select multiple subscribers at once, and automatically create an invitation visible to them in the invitation subpanel. To add contacts, click the "Invite contacts" button. This action invokes a dialog box where you can filter, tag, and add contacts. This also works for leads, targets and target lists.
Creating Email Template
!! Note that the default options listed below could be customized by your Sugar administrator.
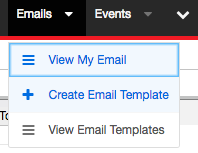
1. Go to Create Email Template
To monitor responses from invitations sent to contacts and leads, you need to use a special template containing links to accept, decline and other reactions to invitations. These links can not be automatically generated by Sugar, and you must copy these links when creating a template. You can find below how the link looks.
https://sugar.domain.net/index.php?entryPoint=sf_event_rvsp&id={::future::SF_Invitations::id::}&rsvp=X
The "rsvp" attribute at the end of a link indicates the invite's response. Those values are defined in a dropdown list named "SF_invitee_reaction_list". Here are default values:
[1] Interested in Attending [2] Not Decided [3] Not Interested
The X in the reaction links should be replaced by those numeric values. It is very important to match the links with those values for proper functionality. The labels of the links should be also at least similar the labels listed.
The final link in the email template could therefore look like this:


