User Guide
How to Use Proximity Search
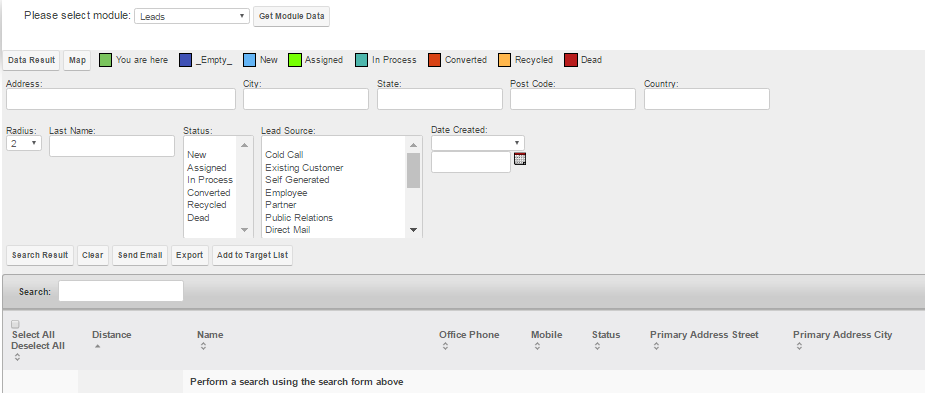
Now that you have saved your settings, click on the “Proximity Search” module in the top module bar. It will open the below screen:

Module selection list box will display the module name(s) as per your configuration. Select Leads and click on “Get Module Data” button to find leads data. It will show as below.
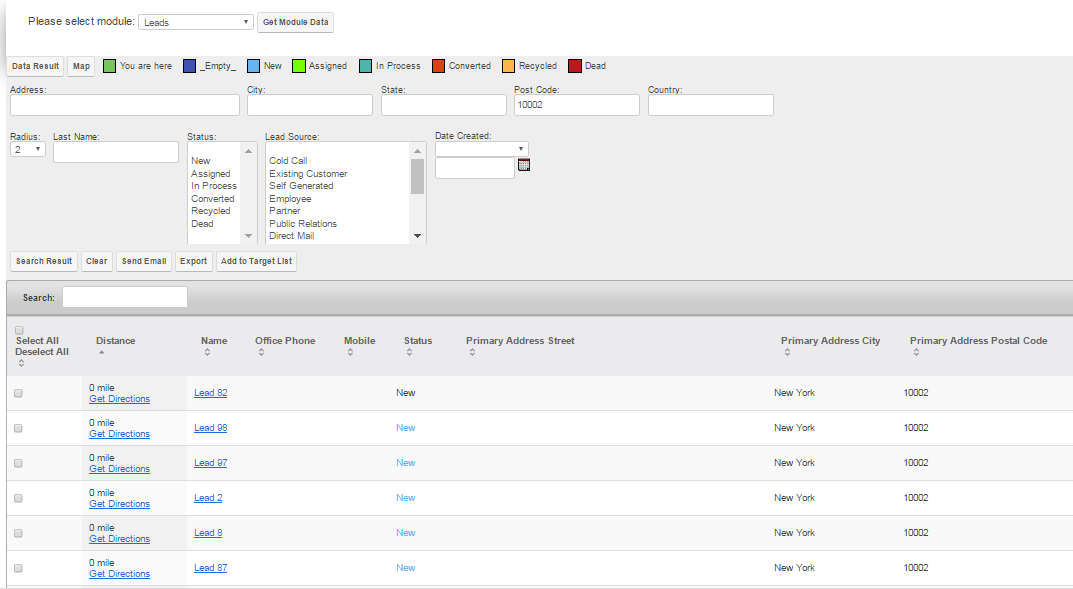
 Search as needed to find the location points. You can find proximity locations using address, city, state and zip code. Moreover, you can select the radius (in miles), Lead status, Lead source and/or creation date to further filter the data to get a specific result set. In the below screen it will search the data with Zip code “10002” with a radius of 2 miles when clicking on the “Data Result” button. Also observe the legends in different colors configured with status of the leads. Users can identify the lead status on map based on color indicator.

Click on the “Map” button to see the Proximity Search results on a map. The radius has been drawn as per the radius miles given.
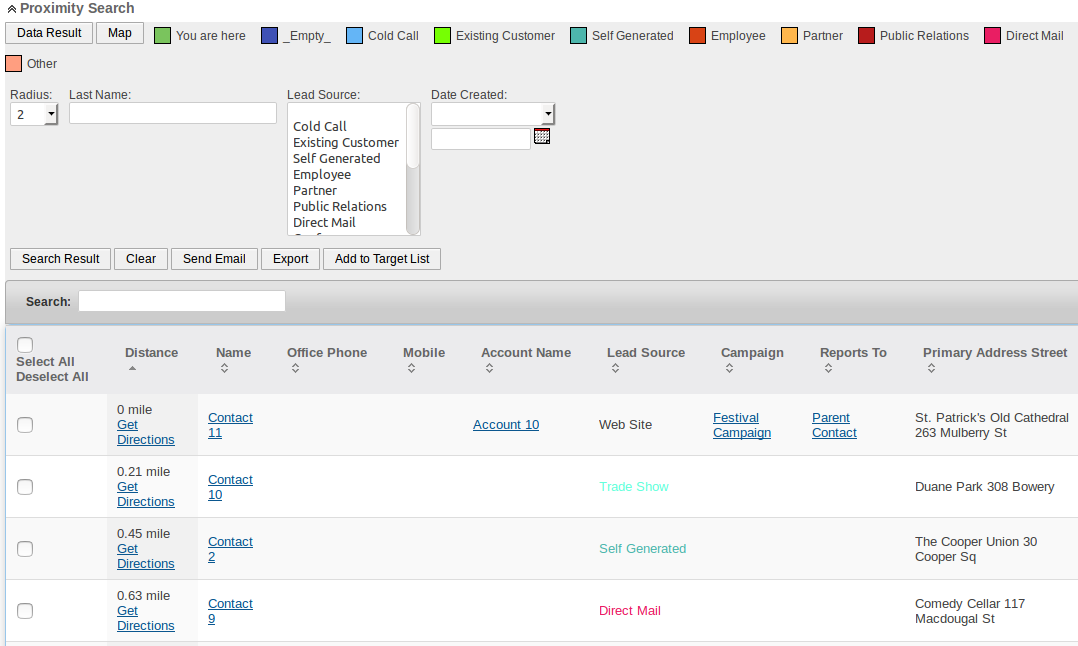
 Sugar 6 Users: Proximity Search results will be displayed as subpanel for the Sugar 6 application. Below screen is the subpanel view on Sugar 6.
 You can also send emails to the entire Proximity Search result or selected records of the results directly from Proximity Search result page.
See below screen in which 5 (five) records are selected. When you click on “Send Email” button you will be prompted to choose an email template. Select the desired template and click on “Send Email”.

The plugin also provides functionality to see proximity result based on the address of a Lead record right from the lead view. You just need to click on the “Proximity Search” button on lead page and it will show you a result page with other leads nearby.

The below result screen is for the above lead:


